Snowboard stomp pads: what they fix, and where to put one
It is the cheapest thing you can buy for a snowboard and the one most likely to stop you falling over getting off a chairlift. It also cannot fix the thing most beginners blame it for.
By Sawyer V. · Published
We have not tested this gear. Everything below is compiled from published specifications and published safety standards, and the arithmetic is public so you can check it. This page carries affiliate links: if you buy through one we earn a commission at no extra cost to you, and it does not change the order of the picks. Full disclosure.
The short answer
A stomp pad is a grippy patch stuck to the board between the bindings, so your unstrapped back foot does not slip when you skate off a lift or push across flat ground. Beginners benefit most, and the useful ones have a raised scraper bar for knocking packed snow out of a boot tread - the Dakine Modular Mat publishes one, at 8.6 x 4.3 in in three configurable pieces. Place it just in front of the rear binding, where your foot actually lands.
| # | Pick | Best for | Score | Price |
|---|---|---|---|---|
| 1 | Dakine Modular Mat Stomp Pad A beginner whose back foot slips off the board every time they get off a lift | $1 a dayon snow | 6.4/10 | $18.00 - View on Amazon |
| 2 | System APX Lace Snowboard Boots A first pair of snowboard boots for an adult, bought on a budget | $9.33 a dayon snow | 4.9/10 | $139.95 - View on Amazon |
Prices last verified October 19, 2026. Prices move constantly; the figure on Amazon at the moment you click is the real one.
The problem it actually solves
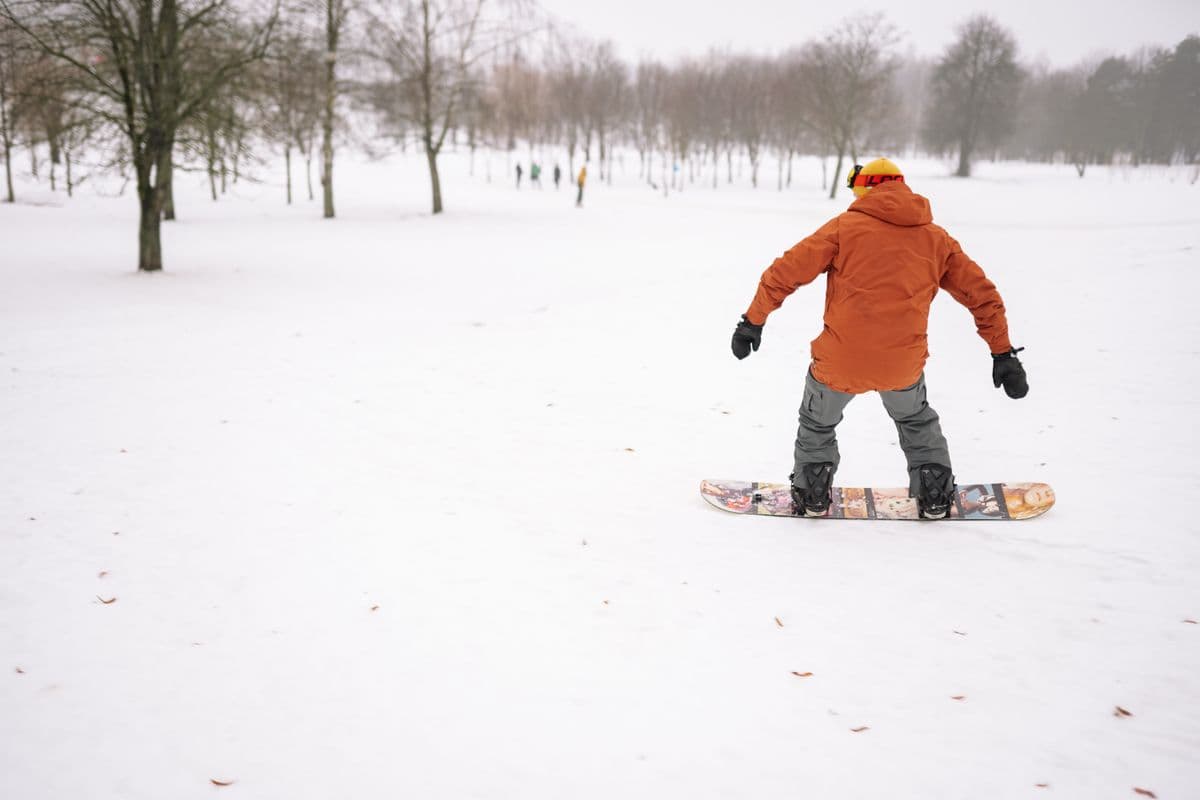
On a snowboard you ride with both feet strapped in, but you get off a chairlift with only the front foot attached. For those twenty seconds your back foot rests on the board - on a smooth, waxed, wet topsheet, with a boot sole that has snow packed into its tread.
The result is predictable: the foot slides, the board squirts sideways, and the rider falls over in the one place on the mountain where there is an audience and a chairlift arriving behind them. A stomp pad puts a textured surface exactly where that foot lands.
The same applies to pushing across flat ground, which the lifts and flat ground page covers - that page is about the technique, and this one is about the hardware that makes it less slippery.
Do you need one?
| Rider | Worth it? | Why |
|---|---|---|
| First-season beginner | Yes | Unloading a lift is the most-repeated awkward moment of your day |
| Child learning | Yes | Small feet, less weight to press down, more slipping |
| Rider with a flat traverse to the lift | Yes | Every push across flat ground is one foot on the board |
| Experienced rider on steep terrain | Optional | Technique has replaced the need; many still fit one out of habit |
| Anyone with a board that already has a textured topsheet | No | Some boards ship with grip molded in - check before buying |
The types
- Mat or full pad. A single flat sheet of textured urethane or EVA. The most grip per square inch and the most coverage, which suits beginners who are not sure exactly where their foot lands.
- Spikes or studs. Small individual pieces stuck in a pattern. Less surface, more bite per point, and easier to fit around a board graphic you like.
- Modular. Several pieces you arrange yourself, which is the practical answer when you have not yet learned where your foot lands.
- Scraper-bar designs. Any of the above with a raised ridge in the middle. The bar is for dragging your boot across to clear packed snow out of the tread before you strap in, which is the second half of the problem this product exists for.
The pick, and why
Dakine Modular Mat
Dakine publishes a 8.6 x 4.3 in footprint (220 x 110 mm) in three configurable pieces, molded urethane with peel-and-stick adhesive, at 35 g - and, importantly, a raised scraper bar in the center, published as being there to clear snow off your boot before you strap back in.
The three-piece design is the useful part for a beginner. You do not know where your back foot naturally lands until you have ridden a few days, and a modular pad lets you place coverage where you actually need it rather than committing a single large sheet to a guess.
Honest cons: the adhesive is permanent in practice - removing a pad takes heat and patience and can mark a topsheet. No warranty term is published. And it solves a traction problem rather than a technique problem: it will not stop a beginner skating badly, it just stops their foot sliding while they do.
Where to put it
The single decision that determines whether the pad does anything. Get it wrong and you have a sticker.
- 1. Strap in your front foot only, on carpet or a rug indoors, exactly as you would off a lift.
- 2. Put your back foot where it naturally rests. Do not think about it - the instinctive position is the one to mark.
- 3. Mark the spot with a piece of tape. For most riders it lands just in front of the rear binding, angled slightly.
- 4. Check it clears the binding - the pad should not sit under the highback or interfere with strapping in.
- 5. Sit on it. Literally: put weight on the spot and check your boot covers the pad rather than overhanging it.
What the pad cannot fix
Two things get blamed on a missing stomp pad and are not about the board at all.
The first is packed snow in the boot tread. A sole full of compacted snow is a smooth surface, and no amount of grip on the board compensates. That is what the scraper bar is for, and it is why a pad without one is doing half the job.
The second is boot fit. A boot that is too big lets your foot move inside it, so the pressure never reaches the sole cleanly, and heel lift makes every one-footed movement unstable. The System APX Lace boots on this site publish a heel-locking loop and a heat-moldable liner for exactly that problem. Diagnosing heel lift is the page that matters more than this one if that is your issue.
What it costs, and the free alternatives
Stomp pads are among the cheapest things in snowboarding, which is why the question is rarely about money. But there are genuinely free options worth knowing.
| Option | Cost | Honest assessment |
|---|---|---|
| Nothing at all | Free | Works on a textured topsheet; fails on a waxed, wet one |
| Grip tape offcut | Almost free | Grips well, looks rough, adhesive is weaker in cold |
| Spikes or studs | Low | Least coverage, easiest to fit around a graphic |
| Modular mat with a scraper bar | Low | Coverage plus the tread-clearing half of the job |
The only reason to spend rather than improvise is the scraper bar and the adhesive. A purpose-made pad uses adhesive rated for a cold, wet topsheet; grip tape from a hardware store does not, and a pad that comes off mid-season takes its own residue with it.
The two other things to check at the same time
If you are working on the board anyway, both of these take a minute and both cause the same complaint the stomp pad gets blamed for.
- Binding angles. A back binding angled uncomfortably makes one-footed skating awkward regardless of grip. Stance and angles explained.
- Base wax. A dry base is slow on flats, which means more pushing, which means more chances for the back foot to slip. Waxing is the actual fix for a board that will not glide. Waxing at home.
Removing one without damage
- Warm it first. A hairdryer on low, held back from the surface, softens the adhesive. Do not use a heat gun - topsheets deform.
- Peel slowly at a shallow angle, not straight up. Fast peeling is what lifts topsheet graphics.
- Residue comes off with adhesive remover on a cloth, not scraped with anything metal.
- Expect a ghost mark. The area under a pad has not been scuffed or sun-faded like the rest of the board, and that shows.
Rentals, borrowed boards and boards that already have grip
Two situations where the answer is simply not to fit one.
- A rental or a borrowed board. The adhesive is permanent in practice, so sticking a pad on someone else’s board - or a shop’s - is not yours to do. Rental boards usually have a pad already, and if not, the answer for a few days is to clear your boot tread carefully and place the foot deliberately.
- A board with a textured topsheet. Some boards ship with grip molded into the area between the bindings, precisely so a pad is unnecessary. Look at the board before buying anything: a raised, matte, patterned patch between the bindings is grip, and adding a pad on top of it gains nothing.
If you are buying a board this season rather than renting, the bindings decision is the one worth your attention - it changes how the board rides, which a stomp pad does not.
The short version
Worth the money for a beginner, a child or anyone with a flat traverse to the lift, and the one to buy is one with a published scraper bar. Place it by feel indoors rather than by eye, fit it warm and clean, and understand that it fixes slipping rather than technique. If your back foot is still unstable with a pad fitted, look at boot fit before buying more hardware.
Every pick, with the working
Each entry shows the published inputs, the axis scores they produce, and what you give up. The order is the computed order, not a commercial one, and the arithmetic is open underneath each score.
1 · A beginner whose back foot slips off the board every time they get off a lift
Dakine Modular Mat Stomp Pad
The stomp pad with the feature that justifies owning one: a raised scraper bar in the middle, published as being there to clear packed snow off a boot sole before you strap back in. Molded urethane, a published 8.6 by 4.3 in footprint, 35 g, and three pieces you can arrange to suit where your back foot actually lands.
- Published price
- $15
- Cost per day on snow
- $1 a day
- Amortized over
- 3 seasons (15 days)
- Certified to
- Not published
- Published sizes
- One size, published at 8.6 x 4.3 in (220 x 110 mm), in three configurable pieces
- Weight
- 35 g
- Warranty
- No term published on the product page
What it gets right
- Raised scraper bar published, which is what gets packed snow out of a boot tread
- Published 8.6 x 4.3 in footprint in three configurable pieces, so placement is not fixed
- Molded urethane with peel-and-stick adhesive, published at 35 g
- Cheapest item in this ledger by a wide margin
What you give up
- Adhesive is permanent in practice; removing one takes heat and patience and can mark the topsheet
- No published warranty term
- It solves a traction problem, not a technique problem - it will not stop a beginner skating badly
The working behind the 6.4
- Cost per day on snow: 10.0
- $15 over 3 seasons at 5 days each = 15 days = $1 a day
- Published protection: not scored
- This category carries no protective standard.
- Size availability: not scored
- Sold in one size, so size availability does not apply.
- Warranty and support: 0.0
- no published term (0 of 6); no published crash replacement (+0); no published repair route (+0)
Axes with unpublished inputs are dropped and the remaining weights re-normalized, so a product is not punished for a manufacturer’s silence. Specifications compiled September 27, 2026 from Dakine published Modular Mat specifications.
2 · A first pair of snowboard boots for an adult, bought on a budget
System APX Lace Snowboard Boots
The cheapest boot here that publishes a heat-moldable liner and a three-year warranty, and traditional laces are the closure a beginner can actually diagnose: if it is loose in one place you tighten that place. The published heel-locking loop is the detail that matters, because heel lift is what stops a beginner steering.
- Published price
- $139.95
- Cost per day on snow
- $9.33 a day
- Amortized over
- 3 seasons (15 days)
- Certified to
- Not published
- Published sizes
- US 8, 9, 10, 11, 12 and 13
- Warranty
- System 3-year warranty against manufacturer defects
What it gets right
- Three-year published warranty against manufacturer defects, longer than most makers state at any price
- Thermofit heat-moldable liner published, so a shop can shape it to your foot
- Published heel-locking loop, which is the specific fix for a lifting heel
- Laces are repairable anywhere, unlike a failed dial
What you give up
- Six published sizes, all US 8 and up, so smaller feet are not catered for at all
- Laces are slower to adjust with cold hands than a dial, every single time
- No published flex number, only a description
The working behind the 4.9
- Cost per day on snow: 4.2
- $139.95 over 3 seasons at 5 days each = 15 days = $9.33 a day
- Published protection: not scored
- Boots carry no US protective standard, so this axis is not scored. On a winter boot the published temperature rating is the figure that matters; on a snowboard or nordic boot it is the sole standard and the fit.
- Size availability: 8.5
- 6 published sizes (8.5 of 8.5); no continuous adjuster published (+0); range: US 8, 9, 10, 11, 12 and 13
- Warranty and support: 2.5
- 3 yr (2.5 of 6); no published crash replacement (+0); no published repair route (+0)
Axes with unpublished inputs are dropped and the remaining weights re-normalized, so a product is not punished for a manufacturer’s silence. Specifications compiled September 12, 2026 from System published specifications.
Prices last verified October 19, 2026. Prices move constantly; the figure on Amazon at the moment you click is the real one.
Questions people actually ask
Do I need a stomp pad on my snowboard?
If you are a beginner, a child, or you have flat sections to push across, yes - it stops your unstrapped back foot slipping when you get off a lift. Experienced riders on steep terrain often manage without one. Check your board first: some ship with grip molded into the topsheet.
Where should a stomp pad go on a snowboard?
Just in front of the rear binding, where your back foot naturally rests. Find it by strapping in the front foot only on carpet indoors and putting your back foot down without thinking about it, then mark that spot with tape before committing the adhesive.
What does the scraper bar on a stomp pad do?
It is a raised ridge you drag your boot across to knock packed snow out of the tread before strapping in. That matters because a snow-packed sole is a smooth sole, and no amount of grip on the board compensates for it.
Will a stomp pad damage my board?
Fitting one is harmless; removing one can lift topsheet graphics if you rush it. Warm the pad with a hairdryer on low, peel slowly at a shallow angle, and clean residue with adhesive remover rather than scraping. Expect a faint ghost mark where it sat.
Why does my back foot still slip with a stomp pad?
Usually snow packed into the boot tread, or a boot that is too big so your foot moves inside it. Clear the sole on the scraper bar before strapping in, and if your heel lifts inside the boot, fix that first - it makes every one-footed movement unstable.