Chairlifts and flat ground: the hardest part of day one
Nobody warns you that the difficult bit of learning to snowboard is not riding down. It is the twenty seconds at the top of a lift with one foot strapped in.
By Sawyer V. · Published
We have not tested this gear. Everything below is compiled from published specifications and published safety standards, and the arithmetic is public so you can check it. This page carries affiliate links: if you buy through one we earn a commission at no extra cost to you, and it does not change the order of the picks. Full disclosure.
The short answer
You ride lifts with your back foot unstrapped, which means learning to skate and to one-foot before you learn to turn. Practice both on flat ground before your first chairlift. Getting off is: stand up as the chair pushes you, keep the board pointing straight down the ramp, back foot on the stomp pad, and glide away before you sit down to strap in.
| # | Pick | Best for | Score | Price |
|---|---|---|---|---|
| 1 | OutdoorMaster 3M Thinsulate Waterproof Ski Gloves The default adult glove when nothing about your hands is unusual | $2.67 a dayon snow | 6.3/10 | $24.95 - View on Amazon |
| 2 | System MTN CRCX snowboard package A household buying more than one board | Not publishedon snow | 4.3/10 | $489.95 - View on Amazon |
Prices last verified October 22, 2026. Prices move constantly; the figure on Amazon at the moment you click is the real one.
Why this is the hard part
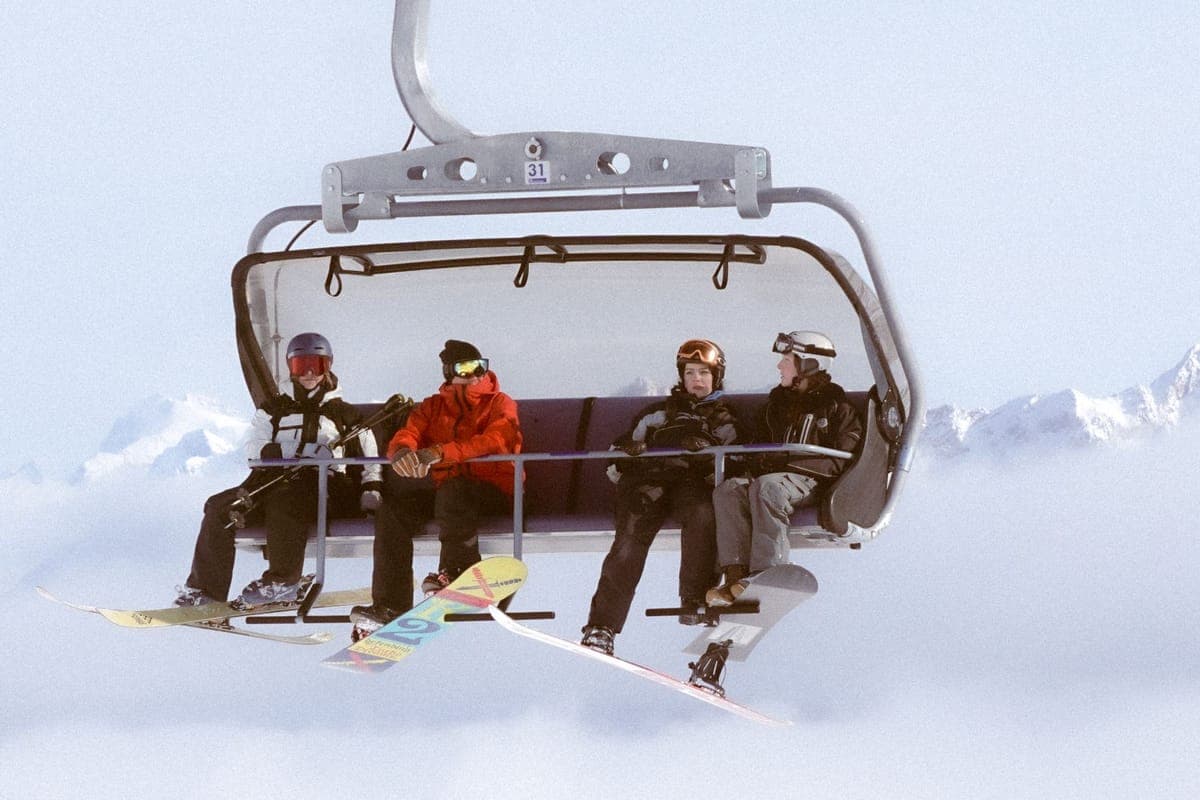
A skier arrives at a lift on two independent feet and leaves the same way. A snowboarder cannot: with both feet strapped to one board you cannot walk, cannot push, and cannot easily stand still on a slope. So every lift ride begins and ends with one foot out of its binding, in a stance you have never used before, in front of a queue of people.
This is the genuine reason day one of snowboarding feels harder than day one of skiing, and it has nothing to do with riding down a slope. It is worth practicing deliberately for twenty minutes on flat ground rather than discovering it at the top of a chairlift, and almost nobody does.
Skating: the first skill
Skating is moving on flat ground with the front foot strapped in and the back foot pushing, exactly like a skateboard. It is how you get to the lift, through the queue, and across every flat section on the mountain.
- Strap in the front foot only. Leave the back binding straps open and out of the way.
- Stand with the board pointing where you want to go, weight over the front foot.
- Put the free foot down beside the board, between the bindings rather than behind the tail, and push.
- Glide with the free foot resting on the board between the bindings, then push again.
The common error is pushing from behind the tail, which turns the board sideways and pulls your front knee across. Push from beside the middle. The other common error is looking at your feet: look where you are going, exactly as you would on a bicycle.
One-footing: gliding downhill with one foot in
One-footing is skating’s downhill cousin: a gentle slope, front foot strapped, back foot resting on the board, letting gravity do it. It is what you do for the ten meters off the top of a chairlift, and it is why a stomp pad exists.
Practice it on the gentlest slope you can find. Weight mostly on the front foot, back foot flat on the board between the bindings, eyes up. To slow down, twist the board slightly across the hill with the front foot. To stop, sit down - which is not a failure, it is the technique.
The stomp pad
A stomp pad is a small textured patch stuck to the board between the bindings, where your back foot goes when it is out. Its entire job is grip: a snowboard top sheet is slippery, and a wet boot sole on a slippery surface at the top of a lift ramp is how people fall over in front of an audience.
It costs very little, it takes two minutes to fit, and it is one of the few accessories on this site that is genuinely worth buying before a first day. Rental boards usually have one already; check before you leave the shop, and ask if not.
The chairlift, in five steps
- In the queue. Skate forward. Unstrap the back foot before you reach the loading line, not while people are waiting behind you.
- Loading. Stand on the load mark with the board pointing forward and slightly angled so the nose does not catch. Look back over your leading shoulder, take the chair with the hand on that side, and sit.
- On the chair. Rest the board on the footrest if there is one, or let it hang. A board hanging from one boot is heavy on the knee over a long ride; lifting it onto the footrest is worth doing.
- Approaching the top. Lift the bar, point the board straight forward, put the back foot on the stomp pad, and slide to the front of the seat.
- Unloading. Stand up as the chair pushes you forward. Keep the board straight down the ramp, weight over the front foot, and glide away from the unload area before you sit down to strap in.
The one rule that matters at the top: get clear before you sit down. Everybody falls off a lift a few times in their first days and nobody minds, but sitting down directly in the unload zone is how the lift gets stopped. Glide ten meters to the side first, even if it is an ugly ten meters.
Which lifts are harder
| Lift | Difficulty | Note |
|---|---|---|
| Gondola or cable car | Easiest | Board comes off entirely; you walk on. No skill required. |
| Chairlift | Manageable | The standard case, and the one this page is mostly about. |
| Magic carpet | Easy | Stand on the belt with the board straight. Beginner areas use these. |
| Rope tow | Awkward | You are pulled sideways; grip low and let the board run flat. |
| T-bar or platter | Hardest | Designed for skiers. Lean back against it, keep the board flat and pointing straight, and expect to fall the first time. |
If a resort is mostly T-bars, that is worth knowing before booking a first snowboard trip. It is not a reason to avoid the place, but a beginner will spend a real portion of day one learning a lift rather than learning to ride.
Flat sections, which every resort has
The other thing nobody warns you about: a snowboard stops on flat ground and a skier glides across. Cat tracks, traverses and the run-out at the bottom of a piste are all places a snowboarder can come to a complete halt and then have to unstrap.
- Carry speed into it. The single best answer. Look ahead, spot the flat, and stop scrubbing speed before you reach it.
- Stay flat-based and stand tall. Any edge angle is a brake on flat ground.
- If you stop, unstrap and skate. Faster than hopping, and much less tiring than trying to pump the board along.
- Check the trail map for cat tracks. On some mountains one route down is dramatically flatter than another, and the map tells you.
Leashes and runaway boards
A leash connects the board to your front leg so it cannot slide down the mountain while you are strapping in. Because snowboard bindings do not release, a loose board on a slope is a genuinely dangerous object, and it is why many resorts require a leash and why most bindings ship with one.
Use it if you have it. If you do not, the practical habit that does the same job is to always strap in with the board across the fall line and the base uphill, so that if it does get away it lands on its base rather than gathering speed on its edge.
One equipment note
You will be putting your hands in the snow constantly during all of this: strapping in, pushing up, catching yourself on the lift ramp. Gloves get wet on day one faster than any other item of a snowboarder’s kit, which is why the glove sizing page recommends two pairs, and why a gauntlet cuff over the sleeve is worth more here than it is on skis.
Everything else that makes day one survivable is on the protection page. Get through the lifts and the flats, and the riding is the easy part.
Every pick, with the working
Each entry shows the published inputs, the axis scores they produce, and what you give up. The order is the computed order, not a commercial one, and the arithmetic is open underneath each score.
1 · The default adult glove when nothing about your hands is unusual
OutdoorMaster 3M Thinsulate Waterproof Ski Gloves
Named Thinsulate insulation and a published two-year warranty at $39.99, which is the only glove here that publishes a warranty term at all. Over three seasons that is $2.67 a day.
- Published price
- $39.99
- Cost per day on snow
- $2.67 a day
- Amortized over
- 3 seasons (15 days)
- Certified to
- Not published
- Waterproof rating
- Not published
- Published sizes
- S through XL
- Warranty
- OutdoorMaster 2-year warranty
What it gets right
- Two-year published warranty, which no other glove here states
- 3M Thinsulate insulation named rather than unspecified fill
- $39.99, which is $2.67 a day over three seasons at five days each
What you give up
- No published waterproof rating in millimeters
- Four sizes, so hands at the extremes are less well served
The working behind the 6.3
- Cost per day on snow: 9.1
- $39.99 over 3 seasons at 5 days each = 15 days = $2.67 a day
- Published protection: not scored
- No waterproof rating or seam construction published.
- Size availability: 5.1
- 4 published sizes (5.1 of 8.5); no continuous adjuster published (+0); range: S through XL
- Warranty and support: 2.5
- 2 yr (2.5 of 6); no published crash replacement (+0); no published repair route (+0)
Axes with unpublished inputs are dropped and the remaining weights re-normalized, so a product is not punished for a manufacturer’s silence. Specifications compiled September 3, 2026 from OutdoorMaster published specifications.
2 · A household buying more than one board
System MTN CRCX snowboard package
Eight published lengths from 138 to 163 cm is the widest size range in this category, which for a family means one brand can fit a twelve-year-old and a six-foot adult. The camber-rocker-camber profile is aimed squarely at not catching an edge.
- Published price
- Not published
- Cost per day on snow
- Not published
- Amortized over
- 5 seasons (25 days)
- Certified to
- Not published
- Published sizes
- 138 to 163 cm including two wide sizes
- Warranty
- No term published on the product page
System sells the MTN in several package configurations at different published prices, so no single list price applies to the item you will land on.
What it gets right
- Eight published lengths, two of them wide, which is unusually broad
- Camber-rocker-camber profile with the contact points lifted, designed to resist edge catches
- Sold as a complete package with bindings
What you give up
- No single published price: the same board appears in several package configurations
- Boots again separate
The working behind the 4.3
- Cost per day on snow: not scored
- No manufacturer-published price, so this axis is not scored.
- Published protection: not scored
- Snowboards carry no protective standard of their own.
- Size availability: 8.5
- 8 published sizes (8.5 of 8.5); no continuous adjuster published (+0); range: 138 to 163 cm including two wide sizes
- Warranty and support: 0.0
- no published term (0 of 6); no published crash replacement (+0); no published repair route (+0)
Axes with unpublished inputs are dropped and the remaining weights re-normalized, so a product is not punished for a manufacturer’s silence. Specifications compiled September 3, 2026 from System published specifications.
Prices last verified October 22, 2026. Prices move constantly; the figure on Amazon at the moment you click is the real one.
Questions people actually ask
How do you get off a chairlift on a snowboard?
Point the board straight down the ramp with your back foot on the stomp pad, slide to the front of the seat, and stand up as the chair pushes you forward. Keep your weight over the front foot and glide clear of the unload area before you sit down to strap in.
What is skating on a snowboard?
Moving across flat ground with the front foot strapped in and the back foot pushing, like a skateboard. Push from beside the middle of the board rather than behind the tail, glide with the free foot resting between the bindings, and look where you are going rather than at your feet.
Do I need a stomp pad?
It is one of the few accessories genuinely worth buying before a first day. A snowboard top sheet is slippery, and a wet boot sole on it at the top of a lift ramp is how people fall. Rental boards usually have one; check before you leave the shop and ask if not.
Why do snowboarders get stuck on flat ground?
Because both feet are fixed to one board, so there is no way to push or skate without unstrapping. Carry speed into a flat section, stay flat-based and stand tall, and if you do stop, unstrap the back foot and skate rather than trying to hop along.
Are T-bars hard on a snowboard?
They are the hardest lift for a snowboarder, because they are designed to pull a skier from between two feet. Lean back against the bar, keep the board flat and pointing straight, and expect to fall the first time. If a resort is mostly T-bars, that is worth knowing before booking a beginner trip.